The Preferred Audio Solution for Companies
Jukeboxy is trusted by companies in North America, providing the highest quality audio solutions to help businesses thrive and succeed in a competitive market.


Make your music work for you
Here at Jukeboxy, we know that, the key element your customers are looking for is great music. With Jukeboxy, your business will have access to an extensive music library; professionally curated soundtracks and smart tools to achieve great music. Jukeboxy will add value to any size and type of business that plays music for their customers. Easy to set up, easy to use and free to try!
-
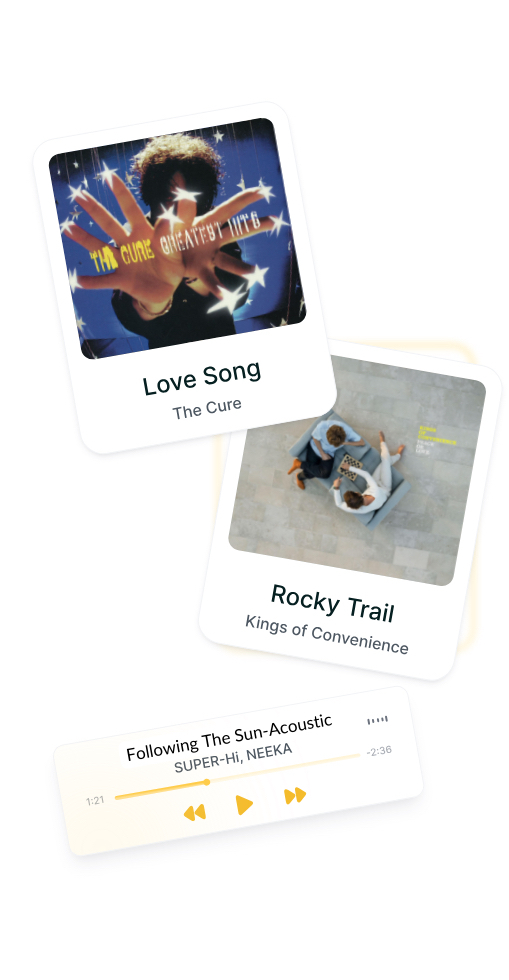
 45+ Million fully licensed songs
-
 Extensive Music Library
-
Easy to Set Up and Use
Tailored Music Solutions for Your Business.
At Jukeboxy, we understand that every business has unique needs when it comes to music. That's why we offer tailored music solutions to meet the specific requirements of your business. Whether you're a small coffee shop or a large retail chain, we've got you covered.
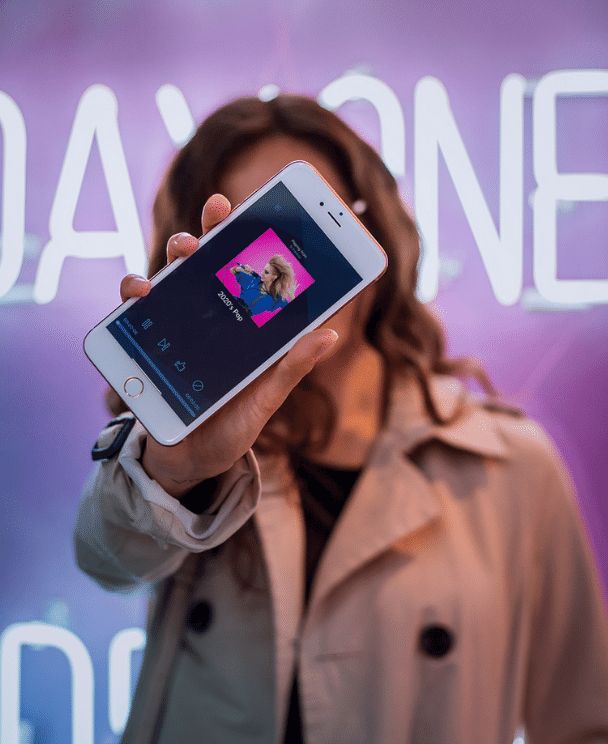
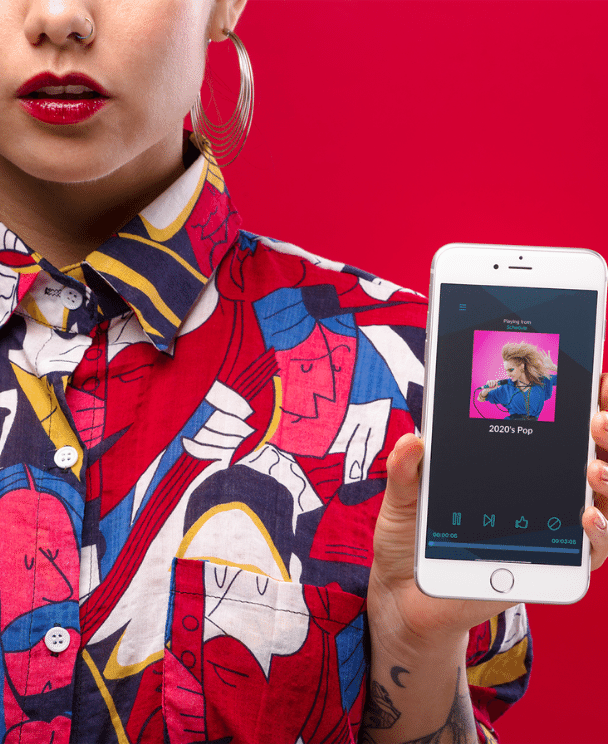
Manage your business's music on the go with Jukeboxy Music! Download the Manager App and take control of your business's music from anywhere in the world.
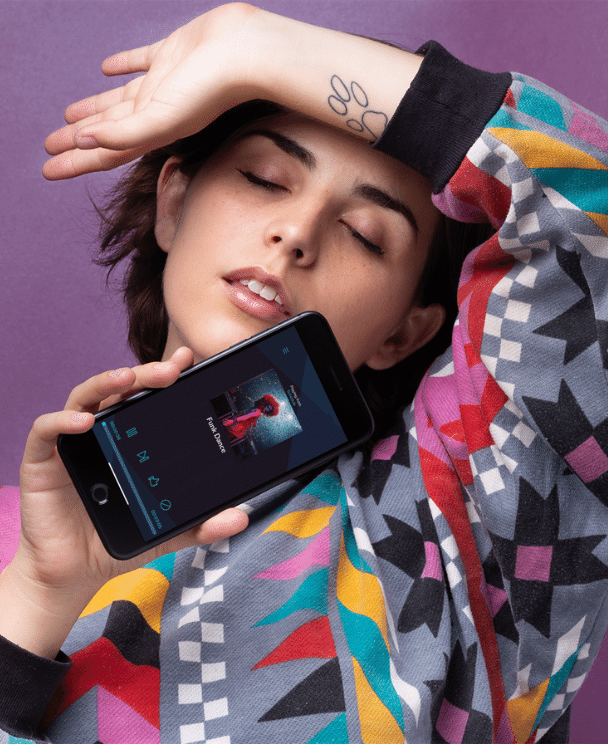
Simplify music management with our scheduling feature. Set up playlists to play at specific times for the perfect atmosphere, every day.
Effortlessly manage all your locations, from 3 to 3,000 accounts, with a single login and dashboard. Update music across all locations with one click, saving your time.